What Is OpenClaw?
OpenClaw is an open-source AI orchestration platform designed for developers and businesses who want full control over their AI infrastructure. It provides a unified interface for managing large language models, vector databases, and AI workflows without relying on proprietary cloud services. Whether you are building RAG pipelines, deploying voice agents, or creating custom AI applications, OpenClaw offers the flexibility to run everything on your own hardware or preferred cloud provider.
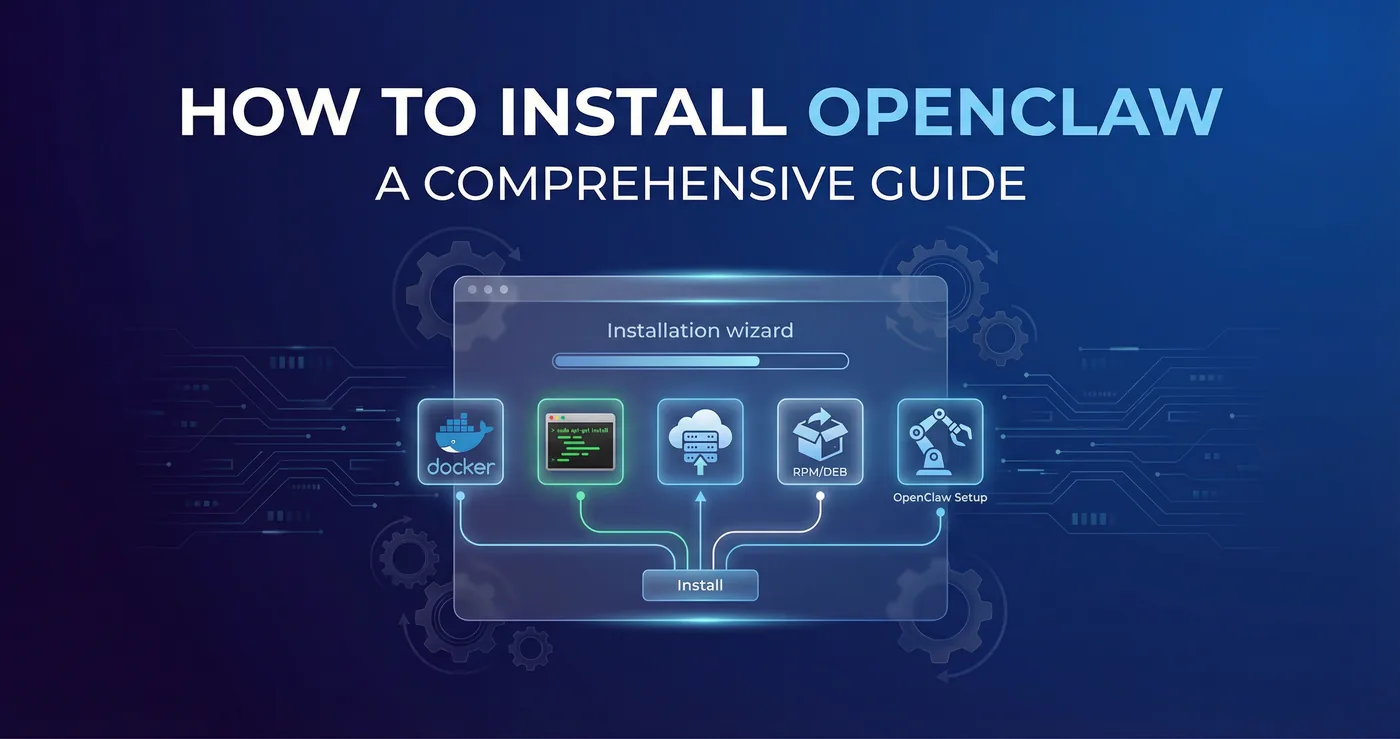
The platform has gained significant traction in 2026 due to its focus on data privacy, cost efficiency, and extensibility. Unlike SaaS alternatives, OpenClaw lets you keep all data on-premises, avoid per-token API fees for supported models, and customize every aspect of the system. This guide covers five different installation methods so you can choose the approach that best fits your infrastructure, skills, and requirements.
Prerequisites
Before installing OpenClaw, ensure your system meets these baseline requirements:
- Operating System: Linux (Ubuntu 20.04+, Debian 11+), macOS 12+, or Windows 10/11 with WSL2
- RAM: Minimum 8 GB; 16 GB or more recommended for running local LLMs
- Storage: At least 20 GB free space; more if you plan to download large models
- Network: Stable internet connection for downloading dependencies and models
For GPU acceleration (optional but recommended for local LLM inference), you need an NVIDIA GPU with CUDA 11.8+ or an AMD GPU with ROCm support. Apple Silicon Macs can use Metal acceleration out of the box.
Method 1: Docker (Quickest Start)
Docker is the fastest way to get OpenClaw running. It packages everything into a single container, so you do not need to worry about dependencies or system configuration. This method is ideal for testing, development, or single-user deployments.
Step 1: Install Docker
If Docker is not already installed, follow the official instructions for your platform. On Ubuntu:
sudo apt update
sudo apt install docker.io
sudo systemctl enable docker
sudo systemctl start docker
sudo usermod -aG docker $USER
Log out and back in for the group change to take effect.
Step 2: Pull and Run OpenClaw
docker pull openclaw/openclaw:latest
docker run -d -p 8080:8080 --name openclaw \
  -v openclaw_data:/app/data \
  openclaw/openclaw:latest
OpenClaw will be available at http://localhost:8080. The data volume ensures your configurations and models persist across container restarts.
GPU Support
To enable GPU acceleration, install the NVIDIA Container Toolkit and run:
docker run -d -p 8080:8080 --gpus all --name openclaw \
  -v openclaw_data:/app/data \
  openclaw/openclaw:latest
This method takes about five minutes from start to finish and is perfect for quickly evaluating OpenClaw or running it on a development machine.
Method 2: Docker Compose (Production Ready)
For production deployments or when you need to run OpenClaw alongside other services like a vector database or reverse proxy, Docker Compose provides a cleaner setup. It lets you define all services in a single YAML file and manage them together.
Step 1: Create docker-compose.yml
version: '3.8'
services:
  openclaw:
    image: openclaw/openclaw:latest
    container_name: openclaw
    restart: unless-stopped
    ports:
      - "8080:8080"
    volumes:
      - openclaw_data:/app/data
      - ./config:/app/config
    environment:
      - OPENCLAW_SECRET_KEY=your-secret-key-here
      - OPENCLAW_DB_PATH=/app/data/openclaw.db
    deploy:
      resources:
        reservations:
          devices:
            - driver: nvidia
              count: all
              capabilities: [gpu]

  qdrant:
    image: qdrant/qdrant:latest
    container_name: qdrant
    restart: unless-stopped
    ports:
      - "6333:6333"
    volumes:
      - qdrant_data:/qdrant/storage

volumes:
  openclaw_data:
  qdrant_data:
Step 2: Launch the Stack
docker compose up -d
This configuration includes Qdrant as a vector database, which is useful if you plan to build RAG pipelines. You can add more services such as Nginx for SSL termination, PostgreSQL for metadata, or monitoring tools like Prometheus and Grafana.
Docker Compose is the recommended approach for teams and production environments because it makes scaling, updating, and managing multi-container setups straightforward.
Method 3: From Source (Full Control)
Installing from source gives you maximum control over the build process and lets you modify the codebase. This method is best for developers who want to contribute to OpenClaw, need custom patches, or prefer to audit every dependency.
Step 1: Clone the Repository
git clone https://github.com/openclaw/openclaw.git
cd openclaw
Step 2: Set Up Python Environment
OpenClaw requires Python 3.10 or later. Create a virtual environment to isolate dependencies:
python3 -m venv venv
source venv/bin/activate
pip install --upgrade pip
pip install -r requirements.txt
Step 3: Build and Run
python setup.py install
openclaw serve --host 0.0.0.0 --port 8080
For development mode with auto-reload:
pip install -e .
openclaw serve --reload
Building the Frontend
If you modify the web interface, rebuild the frontend assets:
cd frontend
npm install
npm run build
cd ..
Source installation takes more time and requires familiarity with Python packaging, but it is the only option if you need to make deep customizations or run on unusual platforms.
Method 4: Cloud Deployment (VPS/Server)
Deploying OpenClaw on a cloud server (VPS) makes it accessible from anywhere and is ideal for team collaboration or serving external users. This method combines Docker or source installation with server hardening, SSL, and optional domain configuration.
Step 1: Provision a Server
Choose a cloud provider (Hetzner, DigitalOcean, AWS, etc.) and spin up a server with at least 4 vCPUs, 16 GB RAM, and 50 GB SSD. Ubuntu 22.04 LTS is a reliable choice.
Step 2: Secure the Server
sudo apt update && sudo apt upgrade -y
sudo ufw allow OpenSSH
sudo ufw allow 80
sudo ufw allow 443
sudo ufw enable
Step 3: Install Docker and OpenClaw
Follow Method 1 or Method 2 above to install OpenClaw via Docker or Docker Compose.
Step 4: Set Up a Reverse Proxy with SSL
Use Nginx and Certbot for free SSL certificates:
sudo apt install nginx certbot python3-certbot-nginx
sudo certbot --nginx -d openclaw.yourdomain.com
Configure Nginx to proxy requests to the OpenClaw container:
server {
    server_name openclaw.yourdomain.com;
    location / {
        proxy_pass http://localhost:8080;
        proxy_set_header Host $host;
        proxy_set_header X-Real-IP $remote_addr;
    }
}
Cloud deployment is the go-to method when you need a persistent, secure, and remotely accessible OpenClaw instance. It can be combined with CI/CD pipelines for automated updates.
Method 5: Package Managers
Some operating systems and community repositories offer OpenClaw as a native package, simplifying installation and updates. This method integrates with your system's package manager, making maintenance easier.
Homebrew (macOS/Linux)
brew tap openclaw/tap
brew install openclaw
openclaw serve
Snap (Ubuntu/Linux)
sudo snap install openclaw
openclaw.serve
AUR (Arch Linux)
yay -S openclaw
openclaw serve
pip (Python Package Index)
If you only need the CLI and core library without the full application stack:
pip install openclaw
openclaw serve --port 8080
Package manager installations are convenient for users who prefer native tooling and want automatic updates through their system's update mechanism. Check the OpenClaw documentation for the latest availability on each platform.
Post-Installation Configuration
After installing OpenClaw using any of the methods above, complete these steps to get started:
- Create an admin account: Open the web interface and follow the setup wizard to create your first user.
- Connect a model backend: Configure OpenAI, Anthropic, or a local model server (Ollama, vLLM) under Settings > Models.
- Set up a vector database: If you plan to use RAG, connect Qdrant, Chroma, or another supported vector store.
- Enable authentication: For production, enable OAuth or LDAP integration to secure access.
- Configure backups: Schedule regular backups of the data volume or database to prevent data loss.
OpenClaw's modular architecture means you can start simple and add components as your needs grow. The documentation covers advanced topics like clustering, custom plugins, and API integrations.
Conclusion
Installing OpenClaw is straightforward once you choose the method that matches your environment. Docker offers the fastest path to a running instance, Docker Compose scales to production, source installation gives full control, cloud deployment makes it accessible anywhere, and package managers integrate with your OS tooling. Whichever route you take, OpenClaw provides a powerful, privacy-first platform for AI orchestration.
At TecAdRise, we specialize in deploying and customizing AI platforms like OpenClaw for businesses of all sizes. From initial setup and integration with your existing tools to ongoing support and optimization, we help you get the most out of open-source AI infrastructure.
Resources
Need Help Installing OpenClaw?
Contact TecAdRise for expert assistance with installation, configuration, and integration. We get you up and running fast so you can focus on building.
Get Started